If you have not installed QAWeb, click here for detailed instructions on how to install QAWeb for Windows 10
Solution
Please follow the steps below to properly install, configure and perform a full calibration and compliance test on your Barco® monitors using Barco® QAWeb.
Please ensure that your USB Type-B cable is connected from your monitors to your computer before you start.

Open "MediCal QAWeb Agent" calibration software. You can search for the software in the search bar next to the Start Menu.

Wait for QAWeb to detect the configuration.

Click on Switch User

Type password: advanced, then press OK.

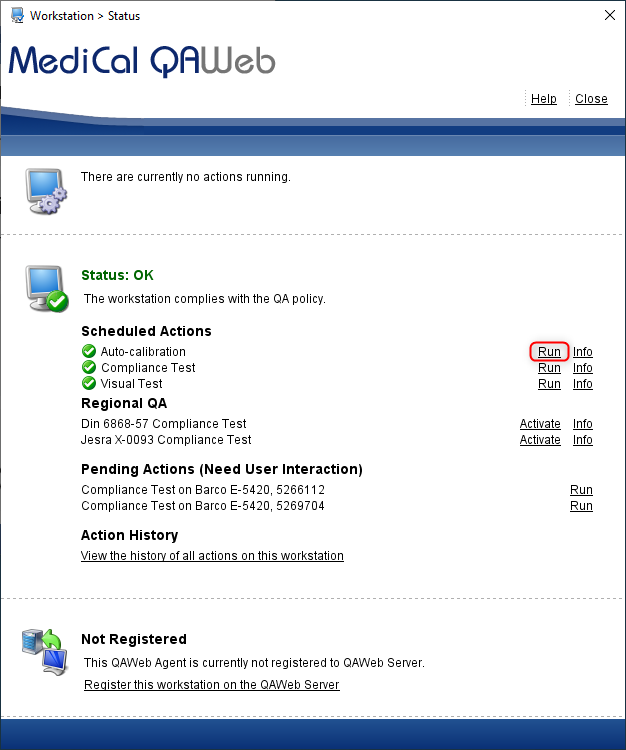
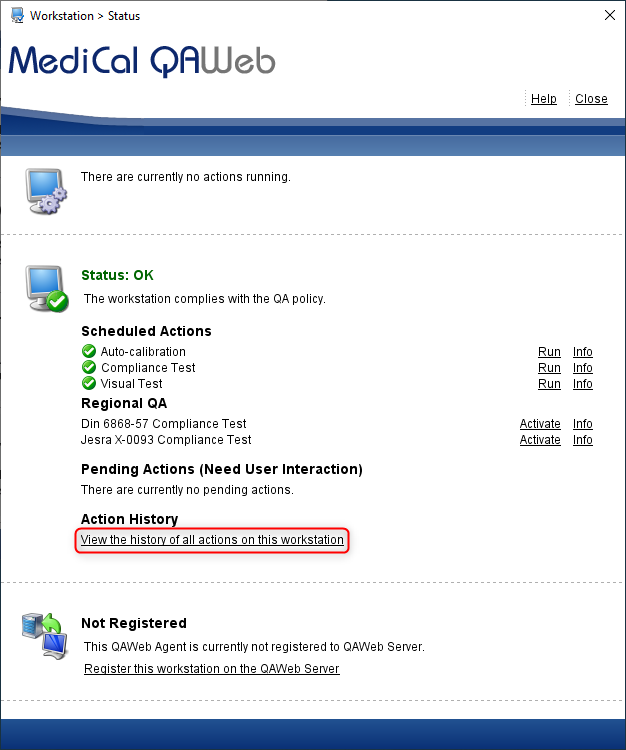
Click Status

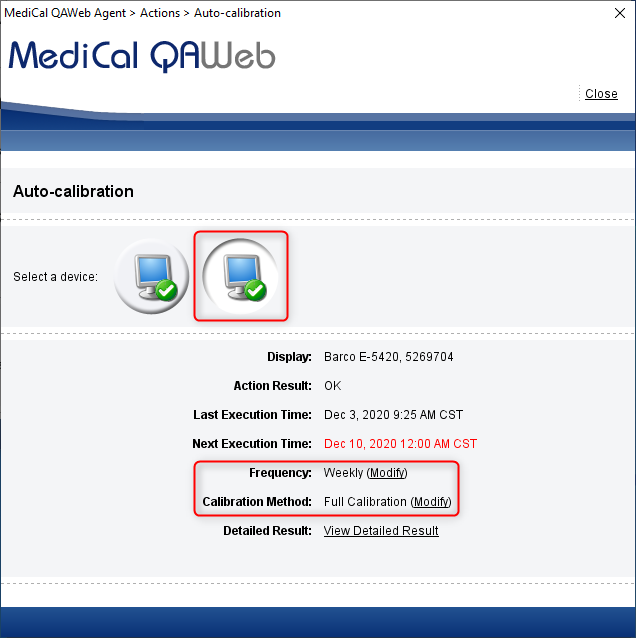
On Auto-calibration, click Info.

On Frequency, click Modify.

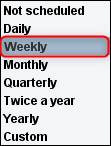
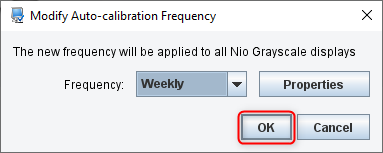
Change Frequency to Weekly then click OK. For Mammography, select Daily.

On Calibration Method, Click Modify.

Select Full Calibration, then click OK.

Verify changes on all monitors.

Click Close

On Compliance Test, click Info.

On Frequency, click Modify.

Change Frequency to Daily then click OK.


Verify changes on all monitors.


Click Close

On Auto-Calibration, click Run.
Wait for Auto-calibration to run.

On the results page, take note of Action Result: OK
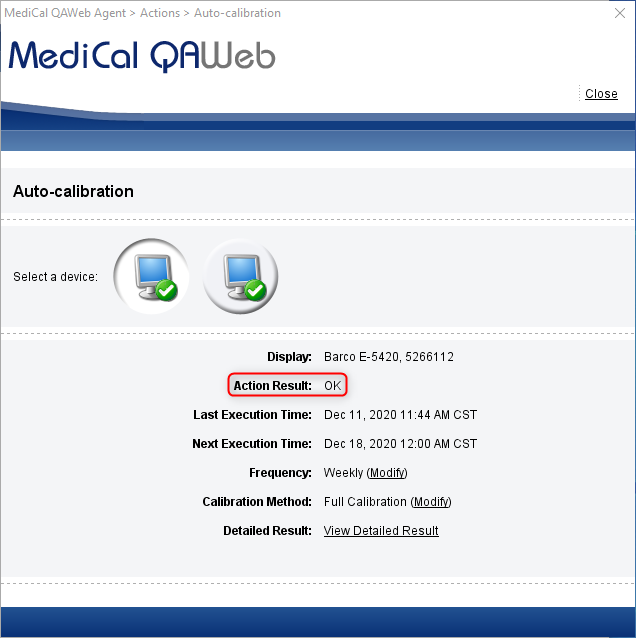
To view detailed report, on Detailed Result, click View Detailed Result.

To Save report, Click Save as PDF.

Click Open Report (Acrobat Reader required).
Save according to your PDF reader software.

Following these steps for all monitors.

Click Close

On Compliance Test, click Run.

Wait for Compliance Test to run.

On results page, take note of Action Results: OK

To view detailed report, on Detailed Result, click View Detailed Result.

To save report, click Save as PDF.

Click on Open Report (Acrobat Reader required).
Save according to your PDF reader software.

Click Close

Following these steps for all monitors.

Click Close

To view all reports performed on monitors, click "View the history of all actions on this workstation" under Action History.
To view report, under Result, click on OK or NOT OK on desired report.

Conclusion
Your monitors now has the proper auto-calibration and auto-compliance test settings using the Barco® Medical QAWeb DICOM Calibration & QA software.